BREAKOUT DEFENSE
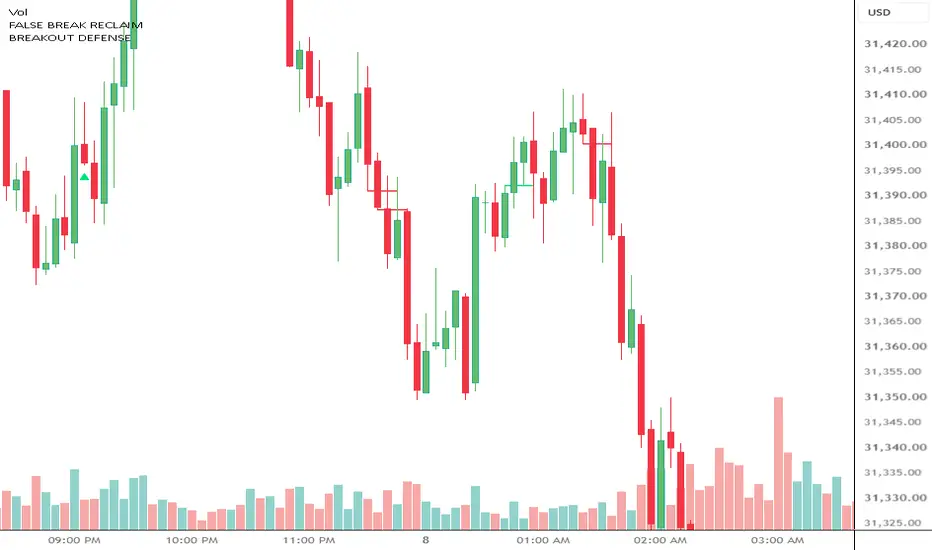
BREAKOUT DEFENSE is designed to identify breakout levels that continue to hold after price moves beyond a previous candle’s high or low.
For a bullish setup, Candle 2 must close above Candle 1’s high. After the breakout, price must continue closing above that level while the indicator waits for two consecutive retest candles.
Both retest candles must touch or trade through Candle 1’s high and still close back above it. When that happens, a horizontal line is drawn at Candle 1’s high.
For a bearish setup, Candle 2 must close below Candle 1’s low. Price must continue closing below that level until two consecutive retest candles appear. Both retest candles must touch or trade through Candle 1’s low and still close back below it. A horizontal line is then drawn at Candle 1’s low.
The two retest candles do not have to appear immediately after the breakout. They can occur several candles later, as long as they are consecutive and the breakout level has not been invalidated by a close back through it.
The Maximum Bars After Breakout setting controls how long the indicator will wait for the two-candle retest sequence.
This indicator can be useful for spotting breakout continuation, defended support and resistance, successful retests, and areas where price confirms acceptance beyond a previous level.
For a bullish setup, Candle 2 must close above Candle 1’s high. After the breakout, price must continue closing above that level while the indicator waits for two consecutive retest candles.
Both retest candles must touch or trade through Candle 1’s high and still close back above it. When that happens, a horizontal line is drawn at Candle 1’s high.
For a bearish setup, Candle 2 must close below Candle 1’s low. Price must continue closing below that level until two consecutive retest candles appear. Both retest candles must touch or trade through Candle 1’s low and still close back below it. A horizontal line is then drawn at Candle 1’s low.
The two retest candles do not have to appear immediately after the breakout. They can occur several candles later, as long as they are consecutive and the breakout level has not been invalidated by a close back through it.
The Maximum Bars After Breakout setting controls how long the indicator will wait for the two-candle retest sequence.
This indicator can be useful for spotting breakout continuation, defended support and resistance, successful retests, and areas where price confirms acceptance beyond a previous level.

免責聲明
這些資訊和出版物並非旨在提供,也不構成TradingView提供或認可的任何形式的財務、投資、交易或其他類型的建議或推薦。請閱讀使用條款以了解更多資訊。
免責聲明
這些資訊和出版物並非旨在提供,也不構成TradingView提供或認可的任何形式的財務、投資、交易或其他類型的建議或推薦。請閱讀使用條款以了解更多資訊。