
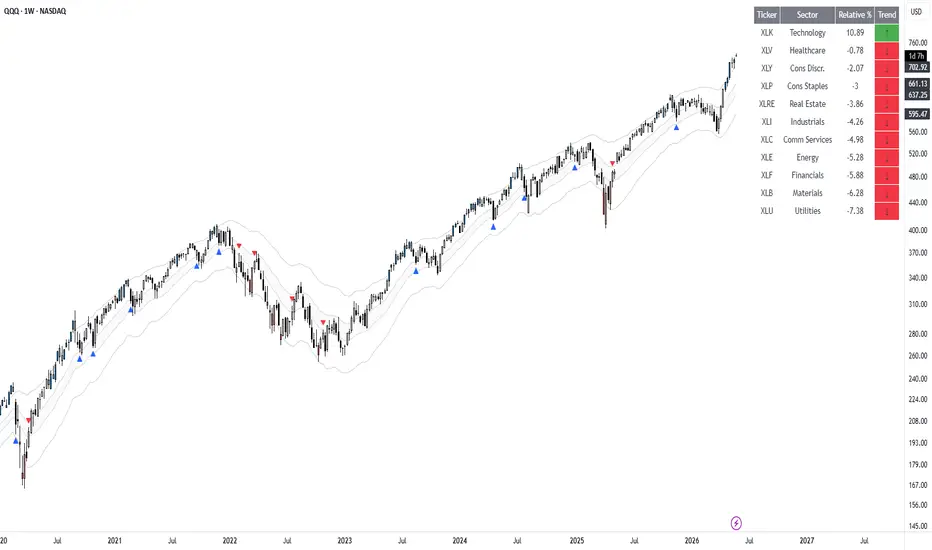
It has been a while since I last posted, so here are some recent trade examples showing both successful and failed individual trades. I know some only show the former, but that is not representative. The value lies in the cumulative effect over a larger sample, while individual outcomes are considered random.
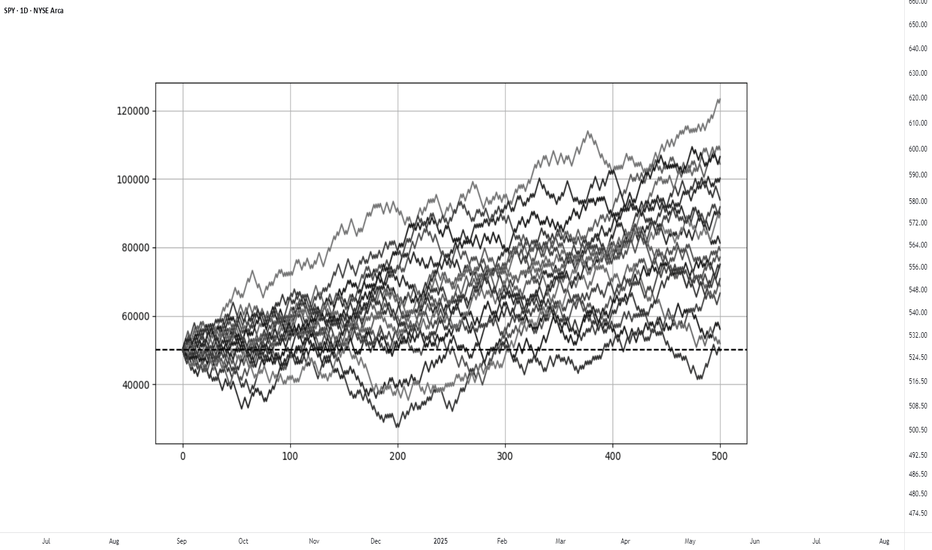
The probabilistic process can be read about more here:
The examples below are pullback setups. In simple terms, a pullback is a short-term counter move in response to momentum, which provides a structured location to participate in case of resumption.
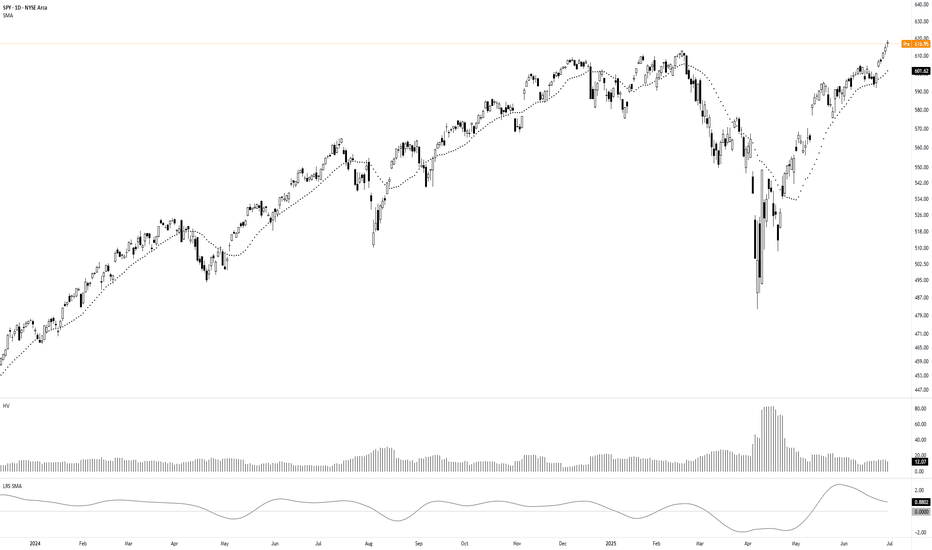
An important part of the process is to evaluate whether the momentum move was meaningful, rather than random patterns on a chart. That is why we use standardized models for evaluation, which can be read about more here:
The pullback tool used in these examples is available here:
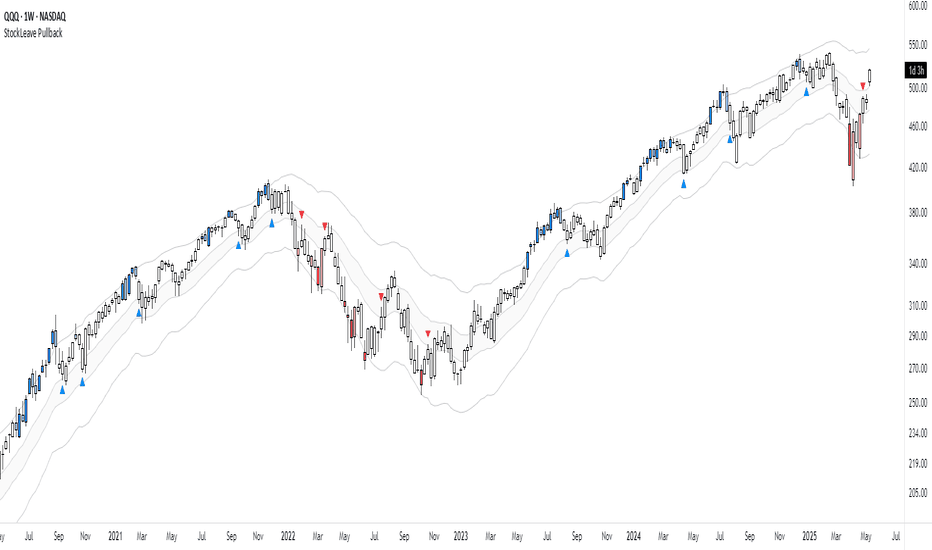
Entries happen in approximate rather than precise locations, as there are no perfect entries, and attempts to optimize tends to be unproductive. Trades are rather taken within a defined pullback area.
I try not to interfere once in a trade. However, sometimes I still do, which can either help or hurt the result. From previous evaluations, the cumulative effect of interference has been close to neutral, however required more effort and attention. Thus, I prefer to let price hit bracket orders. In the trades below I've used a default stop of 2.25 ATR and a target of 1.1R.
PVH

Entered at the marked arrow. Here is an example of not letting the trade play out. It was closed four days later. In this case, interference worked against the trade and resulted in a premature exit.
TWST

This trade was exited early for breakeven/minor drawdown. The trade later moved into what would appear to be a full profit target, but it would also have hit the stop beforehand. In this case, interference worked in favor.
These are reminders that individual trades have uncertain outcomes. The consideration is instead the cumulative effect.
TSN

Entered at the marked area. The trade moved well above target, almost 2R within one session. Since position size was larger here and short-term momentum was strong, the trade was closed into strength before the close.
I do not monitor trades intraday. Decisions are mainly made near the open or before the close to reduce hesitation and reactions to short-term movement.
WMB

Entered at the black arrow. I included the weekly chart as the broader structure is sometimes easier to visualize on slower setups. This trade was left untouched and the bracket orders played out to full profit within a few days.

An additional point is that while targets are ATR-based by default, I still pay attention to previous pivot highs and lows, as price often becomes more reactive there. Because of that, I tend to avoid entries into breakouts (right figure). The focus is instead on pullbacks and then exits into the expansion/breakout (left figure).
PCG

Not an ideal setup in terms of quality, but still a profitable trade. Entered at the black arrow and exited at the 1.1R target. Since volatility was relatively low, the trade did not require a notable move to reach target, and there was no interference involved.
The probabilistic process can be read about more here:
The examples below are pullback setups. In simple terms, a pullback is a short-term counter move in response to momentum, which provides a structured location to participate in case of resumption.
An important part of the process is to evaluate whether the momentum move was meaningful, rather than random patterns on a chart. That is why we use standardized models for evaluation, which can be read about more here:
The pullback tool used in these examples is available here:
Entries happen in approximate rather than precise locations, as there are no perfect entries, and attempts to optimize tends to be unproductive. Trades are rather taken within a defined pullback area.
I try not to interfere once in a trade. However, sometimes I still do, which can either help or hurt the result. From previous evaluations, the cumulative effect of interference has been close to neutral, however required more effort and attention. Thus, I prefer to let price hit bracket orders. In the trades below I've used a default stop of 2.25 ATR and a target of 1.1R.
PVH
Entered at the marked arrow. Here is an example of not letting the trade play out. It was closed four days later. In this case, interference worked against the trade and resulted in a premature exit.
TWST
This trade was exited early for breakeven/minor drawdown. The trade later moved into what would appear to be a full profit target, but it would also have hit the stop beforehand. In this case, interference worked in favor.
These are reminders that individual trades have uncertain outcomes. The consideration is instead the cumulative effect.
TSN
Entered at the marked area. The trade moved well above target, almost 2R within one session. Since position size was larger here and short-term momentum was strong, the trade was closed into strength before the close.
I do not monitor trades intraday. Decisions are mainly made near the open or before the close to reduce hesitation and reactions to short-term movement.
WMB
Entered at the black arrow. I included the weekly chart as the broader structure is sometimes easier to visualize on slower setups. This trade was left untouched and the bracket orders played out to full profit within a few days.
An additional point is that while targets are ATR-based by default, I still pay attention to previous pivot highs and lows, as price often becomes more reactive there. Because of that, I tend to avoid entries into breakouts (right figure). The focus is instead on pullbacks and then exits into the expansion/breakout (left figure).
PCG
Not an ideal setup in terms of quality, but still a profitable trade. Entered at the black arrow and exited at the 1.1R target. Since volatility was relatively low, the trade did not require a notable move to reach target, and there was no interference involved.

Technical Trading: Research and Application
stockleave.com/
stockleave.com/
Bài đăng liên quan
Thông báo miễn trừ trách nhiệm
Thông tin và các ấn phẩm này không nhằm mục đích, và không cấu thành, lời khuyên hoặc khuyến nghị về tài chính, đầu tư, giao dịch hay các loại khác do TradingView cung cấp hoặc xác nhận. Đọc thêm tại Điều khoản Sử dụng.
Technical Trading: Research and Application
stockleave.com/
stockleave.com/
Bài đăng liên quan
Thông báo miễn trừ trách nhiệm
Thông tin và các ấn phẩm này không nhằm mục đích, và không cấu thành, lời khuyên hoặc khuyến nghị về tài chính, đầu tư, giao dịch hay các loại khác do TradingView cung cấp hoặc xác nhận. Đọc thêm tại Điều khoản Sử dụng.