Covenant Regime Atlas [JOAT]Covenant Regime Atlas
Introduction
Covenant Regime Atlas is an open-source Pine Script v6 market-regime indicator built to classify directional state through trend, expansion, persistence, and retest quality. Its purpose is not to predict the next trade by itself, but to create a durable bias layer that tells the trader whether the market is developing a bullish regime, a bearish regime, or a maturing directional environment worth respecting.
The problem this script solves is context instability. Many traders can spot a moving-average crossover or a burst in ATR, but that alone does not answer whether the regime is actually mature, whether momentum has real separation, or whether recent retests are behaving consistently with the dominant trend. Covenant Regime Atlas addresses this by blending multiple regime components into one overlay and dashboard.
The script uses a dual-mid framework derived from EMA and HMA references, ATR-scaled cloud and envelope bands, persistence measurement, heat normalization, slope impulse, and retest memory. This lets it move beyond a simple bullish-versus-bearish cross and instead describe whether the regime is developing, mature, expanding efficiently, or internally cooling.
The result is an indicator for traders who want a cleaner read of bias before interpreting any trigger tool. It is especially useful as a regime filter for execution indicators and strategies that should behave differently in mature directional flow versus unstable transition periods.
Core Concepts
1. Directional Mid Versus Structural Mid
The script creates a fast directional midpoint and a slower structural midpoint using blended EMA and HMA references. The spread between those two curves forms the backbone of regime direction.
float directionalMid = math.avg(emaFast, hmaFast)
float structuralMid = math.avg(emaSlow, hmaSlow)
bool trendBull = directionalMid > structuralMid
This gives the regime engine more shape than a single moving average crossover. The directional mid measures active flow. The structural mid measures slower context.
2. Regime Strength Through Separation And Heat
Regime strength is calculated from ATR-normalized spread plus the distance of normalized heat from its midpoint. In other words, the regime is strongest when the fast and slow structures are well separated and price is also positioned decisively within its recent range.
This helps avoid overvaluing tiny directional crosses that occur with little actual separation or energy.
3. Persistence And Maturity
Every regime needs time to prove itself. The script counts how long the current directional condition has been intact and compares that against a user-defined persistence floor. Once the threshold is met, the regime is treated as mature rather than merely developing.
This matters because a fresh directional flip is different from a directional condition that has held for many bars and survived multiple retest opportunities.
4. Retest Memory
After a mature regime forms, the indicator watches for controlled retests of the directional midpoint. Bull retests occur when price revisits the midline from above and closes back above it. Bear retests use the opposite condition. The last retest is stored as a dotted line and extended forward until it becomes irrelevant.
This gives the trader a simple memory of where the market most recently confirmed trend participation.
5. Pulse, Expansion, And Efficiency
The script also measures volatility expansion, slope impulse, heat drift, trend separation percentage, and directional travel efficiency. These metrics allow the dashboard to distinguish between a mature regime that is expanding forcefully and one that is mature but internally cooling or grinding.
Features
Bull and bear regime classification: Uses fast-versus-slow blended midpoints to define directional control
Maturity logic: Distinguishes developing regimes from mature ones using persistence counting
ATR-scaled cloud and envelope: Frames the current directional corridor directly on the chart
Retest memory engine: Stores the latest mature-regime retest level for forward reference
Initiation band: Preserves the regime start envelope so traders can judge distance from the original launch zone
Pulse ribbon: Adds a compact visual band around price to reflect internal heat conditions
Regime backdrop shading: Tints the chart according to the active directional state
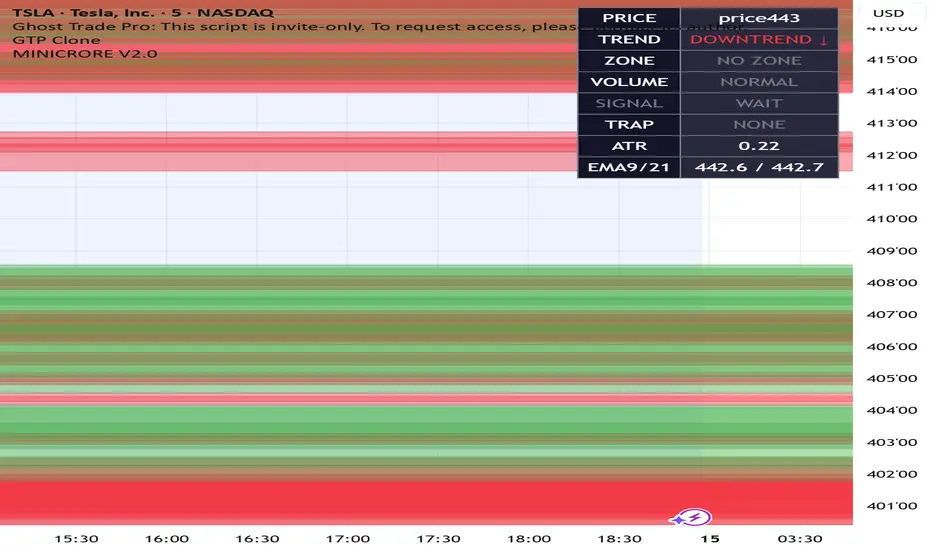
Detailed dashboard: Displays strength, heat, persistence, expansion, slope pulse, retest distance, maturity, efficiency, and more
Confirmed-bar alerts: Includes mature bias, retest, expansion, continuation, efficient trend, and heat-reset conditions
Data-window outputs: Exposes regime internals for systematic reading or comparison
Visual Elements
Directional cloud: The gap between the fast and slow regime mids shows whether the market is operating with clean separation
Envelope bands: ATR-based boundaries help frame the active directional corridor around price
Initiation band: The regime launch area stays visible so users can measure how far the trend has traveled from origin
Retest line memory: The latest confirmed retest is preserved as a direct chart reference
Backdrop and pulse ribbon: Context shading and the pulse band make regime character readable without overloading the chart
Best Practices
Treat mature regimes differently from developing ones because the same trigger can behave very differently in each state
Watch heat drift when a regime remains mature but starts losing internal energy
Use retest memory to frame participation zones rather than chasing every extension away from the midline
Give more weight to regimes that show both persistence and expansion instead of one without the other
Use the atlas as a context engine first and an alert source second
Input Parameters
Trend Engine:
Fast Length: Sets the faster directional reference
Slow Length: Sets the slower structural reference
Heat Window: Defines the range-normalization window for heat calculations
ATR Length: Controls volatility normalization
Cloud Width Factor: Sets the width of the directional cloud and envelope
Retest Engine:
Show Retest Memory: Toggles retest storage and line rendering
Retest Cooldown Bars: Prevents retests from firing too frequently
Persistence Floor: Sets how many bars are required before a regime is considered mature
Show Initiation Band: Displays the preserved start range of the current regime
Maturity Window: Controls maturity scaling and travel-efficiency measurements
Display:
Show Dashboard toggle
Show Regime Backdrop toggle
Show Pulse Ribbon toggle
Independent bull, bear, neutral, and panel colors
How to Use This Indicator
Step 1: Read Regime Tag And Strength
Begin with the dashboard’s regime tag. It tells you whether the market is bullish or bearish and whether that state is still developing or already mature. Pair that with the strength reading to avoid confusing a weak directional bias with a strong one.
Step 2: Check Persistence And Expansion
Persistence tells you how long the regime has survived. Expansion tells you whether volatility is supporting the move. A mature regime with positive expansion usually deserves more respect than a new regime with weak expansion.
Step 3: Use Retest Memory As A Structural Anchor
When the retest line is present, it marks the last meaningful participation check inside the trend. That line can help frame whether the current move is still building from a healthy base or drifting too far away from supportive structure.
Step 4: Watch Heat Drift And Efficiency
Heat drift helps show whether the regime is internally warming or cooling. Efficiency tells you whether directional travel has been orderly. These readings are helpful when deciding whether the trend still looks clean or is becoming unstable.
Step 5: Use It As The Bias Layer For Other Tools
Covenant Regime Atlas is best used as a bias filter. It helps define whether you should be thinking continuation, pullback participation, or caution. Pair it with your own trigger logic rather than using the regime alone as a full trading plan.
Indicator Limitations
A developing regime can fail before reaching maturity, especially in choppy markets
Retest memory is useful for context, but the stored retest level is not guaranteed to hold on future tests
Efficiency and heat drift are descriptive metrics, not predictive guarantees of continuation
The indicator can still classify a directional state during periods where execution conditions are poor for actual trading
Originality Statement
Covenant Regime Atlas is original in the way it blends trend separation, maturity, retest memory, expansion, and efficiency into a unified regime overlay. It is not just a moving-average cloud with added cosmetics:
It separates directional identity from maturity, allowing the user to distinguish developing and established regimes
It stores retest memory as a living structural feature instead of relying only on static crossover logic
It combines heat, slope, expansion, and efficiency into one dashboard so regime quality can be judged from multiple dimensions
It preserves the initiation band of the current regime, which gives context that typical trend overlays do not maintain
Disclaimer
This indicator is provided for educational and informational purposes only. It is not financial advice or a recommendation to buy or sell any financial instrument. Regime readings describe current market structure and internal state based on historical prices. They do not guarantee future movement or profitable trading decisions. Always use independent judgment and proper risk management.
-Made with passion by jackofalltrades
Chỉ báo