How to create nested groups of drawings?
In the Object Tree, you can put groups inside other groups to organize your drawings into several levels. For example, a "Weekly analysis" group can hold "Levels", "Trendlines", and "Patterns" groups, each with its own drawings and subgroups. There's no limit on nesting depth.
You can create a nested group in one of the following ways:
- Open the Object Tree, hold Ctrl (Windows) / Cmd (Mac) or Shift and select the drawings and/or groups you want to group. Then click the "Create a group of drawings" button on the top panel of the Object Tree.
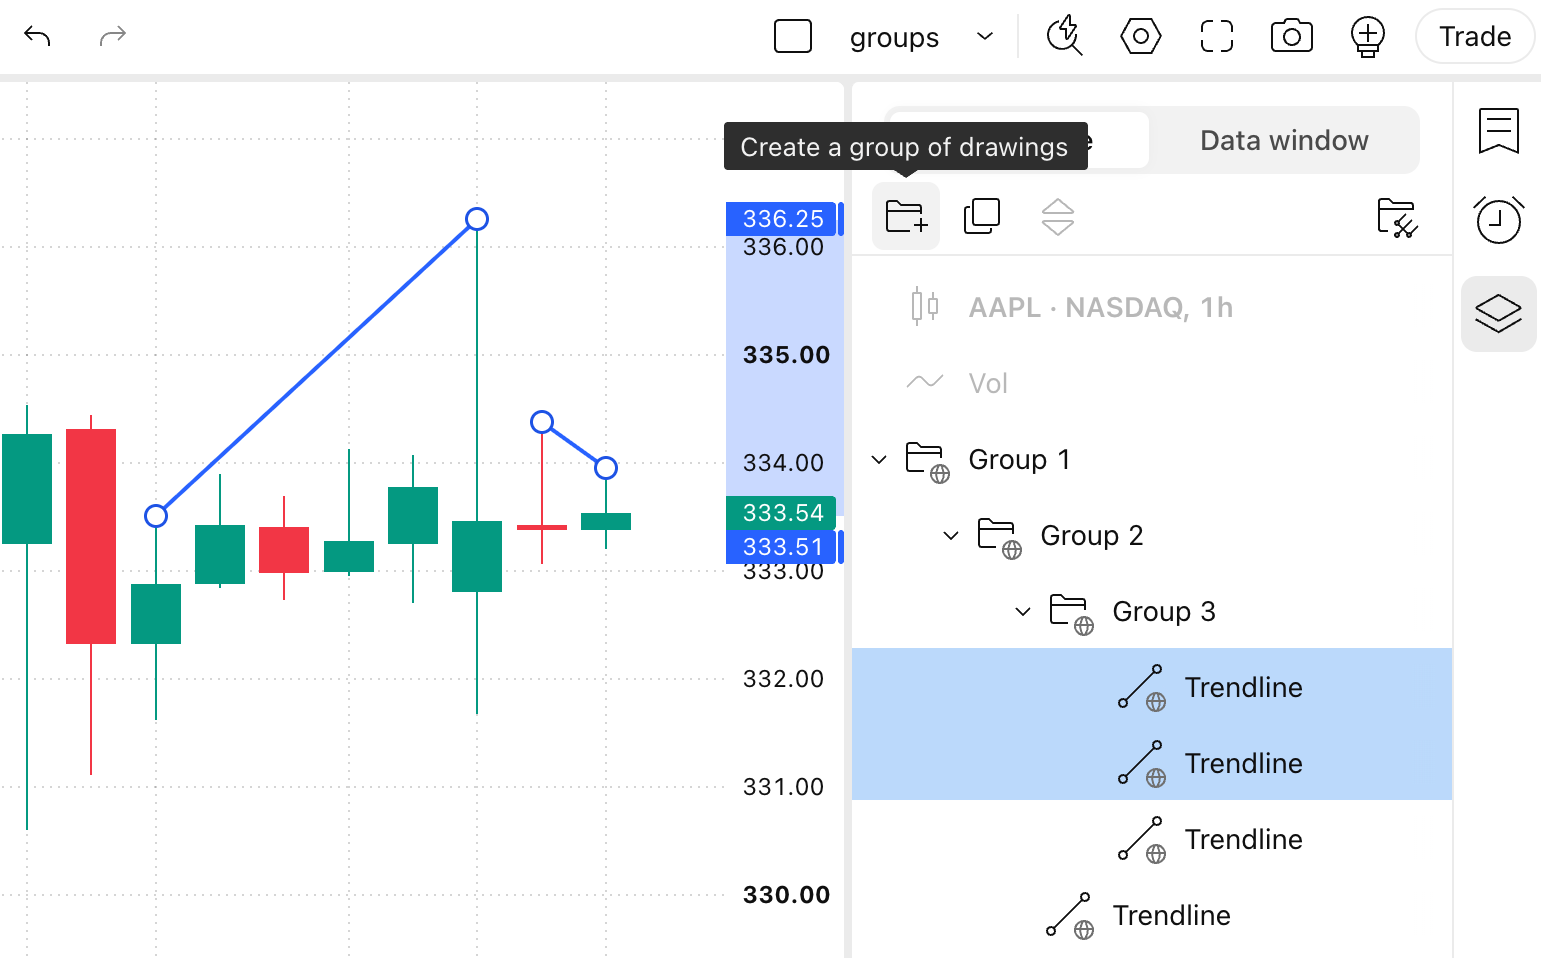
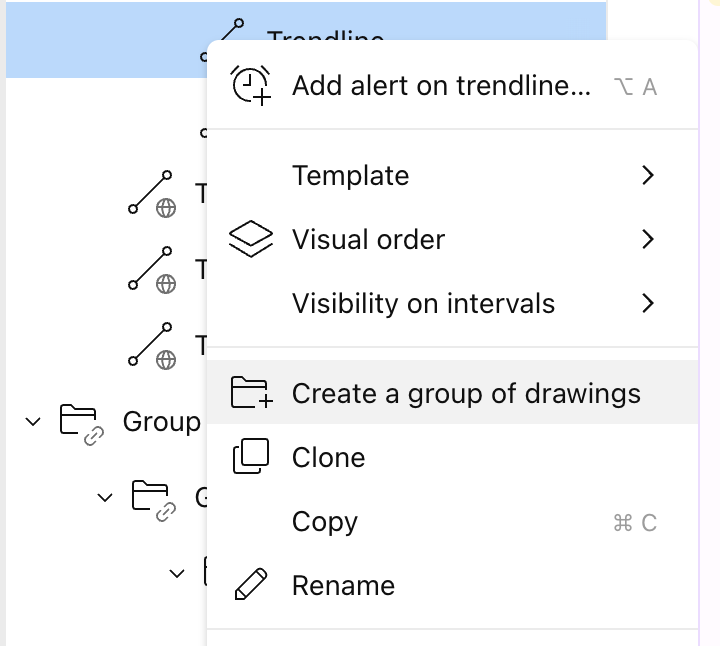
- Select the drawings and/or groups in the Object Tree, right-click and choose "Create a group of drawings" from the context menu.
- Drag a group in the Object Tree and drop it inside another group.
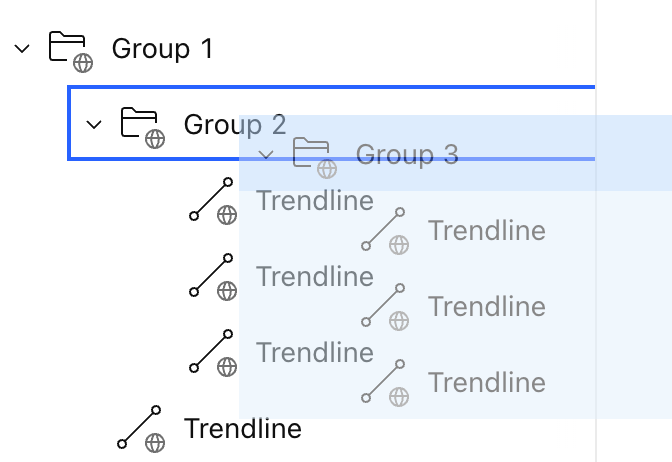
If you drop a drawing or a group onto another group's header, it's placed at the top of that group, right below the header. Collapsed groups stay collapsed when you drag over them or drop something onto them.
How nested groups work
A group works as a single unit together with everything inside it:
- Selecting a group selects all of its contents, including nested groups and drawings at every level.
- Deleting a group deletes it with all its nested groups and drawings.
- A nested group keeps its position among the other items of its parent group.
- If a group becomes empty — for example, you delete all drawings in it — the group is removed automatically. This works at any nesting level.
Synchronization of nested groups
The top-level group sets the sync mode for everything inside it. All nested groups and drawings in it always have the same sync mode.
- When you move a group into another group, it switches to the sync mode of the parent group, together with all its contents. Drawings behave the same way.
- When you move a nested group to the top level of the Object Tree, its sync mode doesn't change.