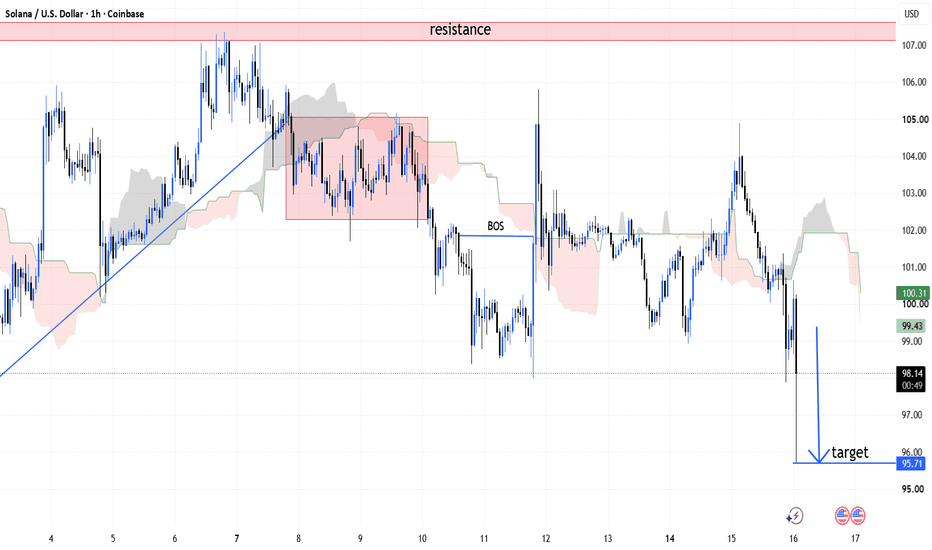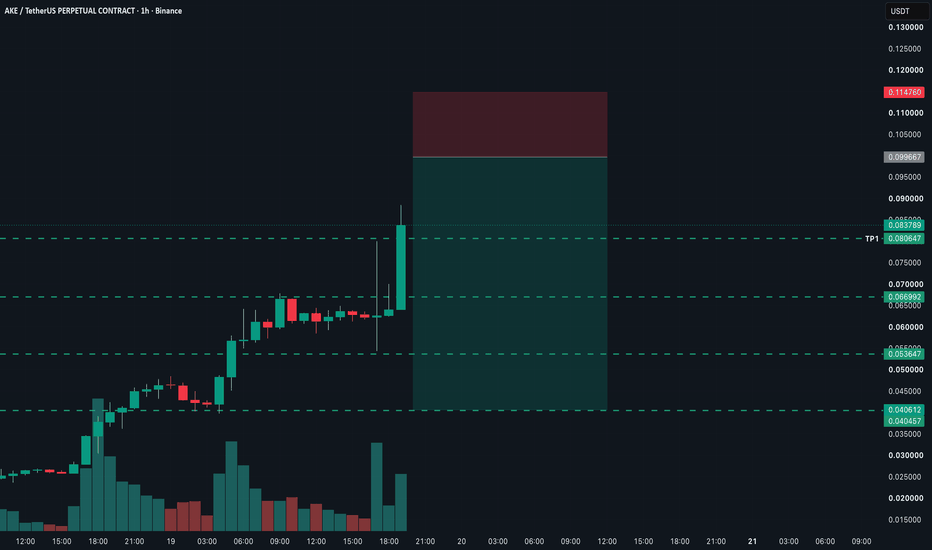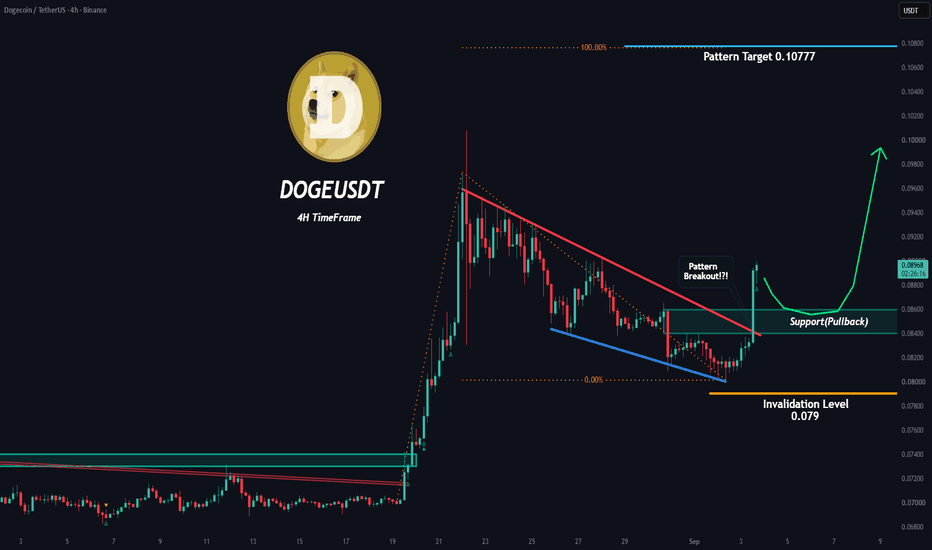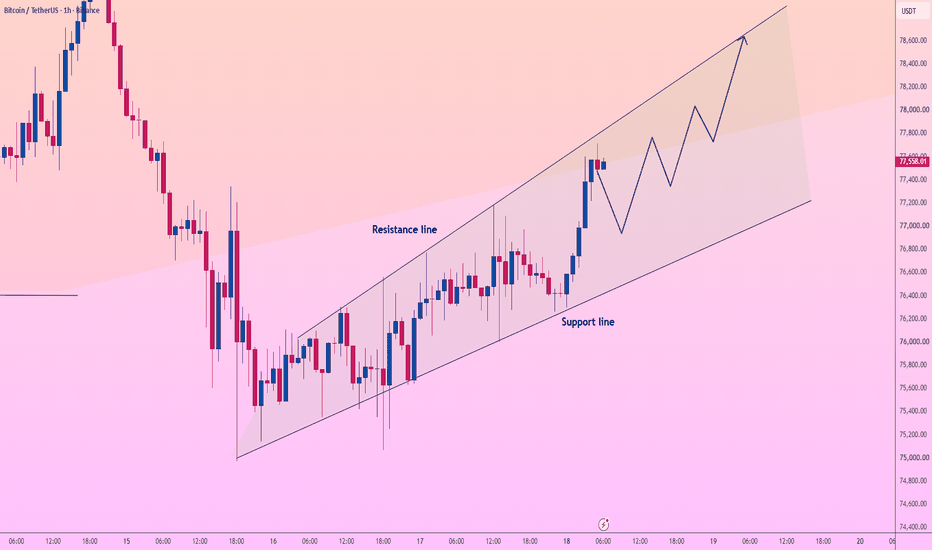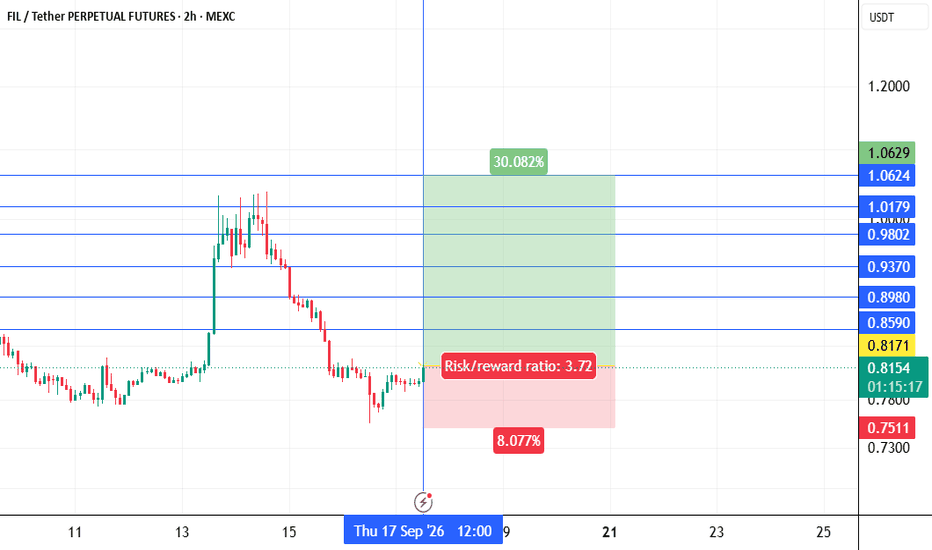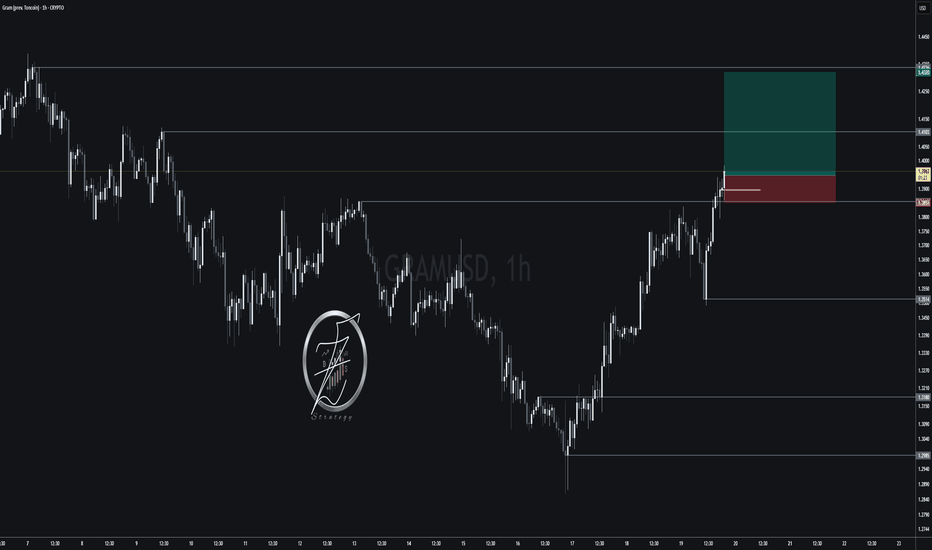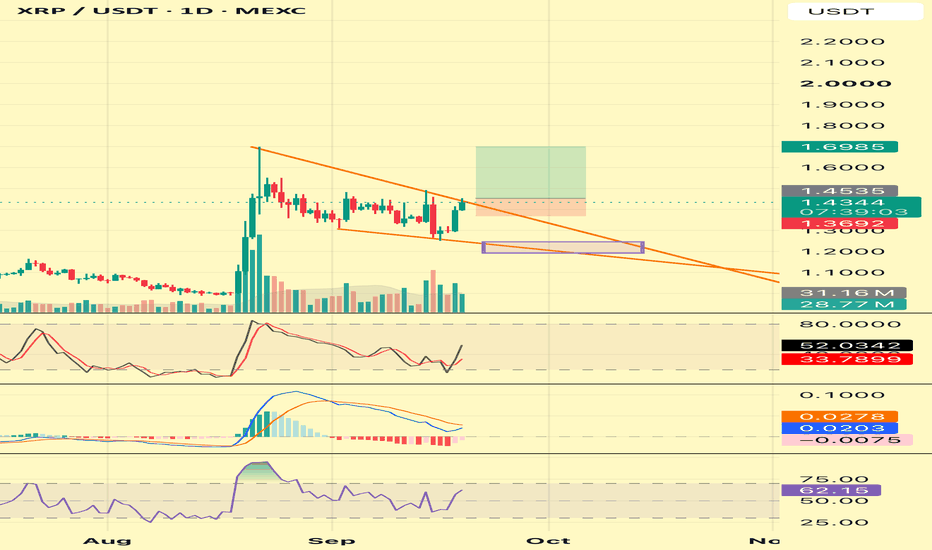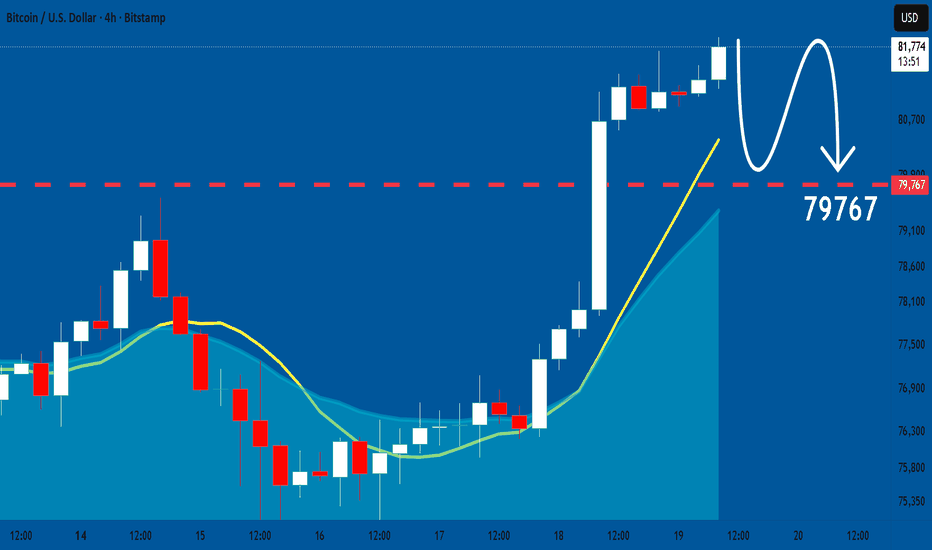
$BANK Technical Breakdownhey there, here we go!
After months of consolidation inside a well-defined accumulation range, BSE:BANK is now pressing against its primary resistance around $0.063–0.065. This level has repeatedly rejected price since November, making it the key breakout zone to watch.
The recent move is supported by increasing volume, suggesting buyers are gradually regaining control after an extended base-building phase.
A confirmed daily close above resistance would invalidate the current range and could trigger a momentum expansion toward the next major liquidity levels.
Key Levels
Support: $0.057 – $0.060
Major Resistance: $0.063 – $0.065
Target 1: $0.098
Target 2: $0.120
Target 3: $0.153
Macro Target: $0.215
Technical Outlook
Price is approaching the most important decision point of the structure. A successful breakout, accompanied by sustained volume, would confirm the end of the multi-month accumulation phase and open the path toward significantly higher price levels.
As long as the support zone around $0.057 holds, the bullish market structure remains intact.
Patience around resistance is key—once this level gives way, momentum could accelerate quickly. 🚀
have a good day!!
Crypto market
CRO: Resistance in ActionResistance Continues to Hold
CRO has now produced two convincing fake-outs above the $0.0625 resistance zone, only to be rejected both times. It's another excellent example of how important support and resistance levels can dictate market direction.
Buyers Absorbed at the Highs
Despite a sharp increase in buying volume during the breakout attempt, price failed to secure a daily close above resistance. That suggests sellers absorbed the buying pressure before regaining control.
Trend Remains Bearish
The 100-day EMA continues to reinforce the resistance zone, adding further confluence to the rejection. Until price can reclaim this area, the broader daily trend continues to favour the bears.
Momentum Rolling Over
RSI has slipped back towards the neutral 50 level after failing to build on the recent rally. StochRSI has also crossed lower from overbought territory, indicating bullish momentum is fading.
In Summary
CRO is providing a textbook lesson in the importance of support and resistance. Two failed breakouts above $0.0625, despite strong buying volume, suggest sellers remain firmly in control of this level. Unless bulls can reclaim and hold above this resistance, the latest rejection keeps the focus on a move back towards the recent daily lows within the broader downtrend.
GENIUSUSDT: Bullish Breakout Signals Further UpsideGENIUSUSDT has printed a strong impulsive breakout after several days of accumulation, with buyers quickly reclaiming the recent resistance zone. The sharp expansion in volume and momentum suggests bulls are currently in control.
As long as price holds above 0.3280, the bullish structure remains intact. A continuation above the current consolidation could open the way toward 0.3429, while a break below support would invalidate the setup and increase the probability of a deeper pullback.
Trade Setup
Entry: 0.3330
Target: 0.3429
Stop Loss: 0.3280
I'll be watching for buyers to defend the breakout zone before expecting the next leg higher. Risk management remains essential, especially after such a strong impulsive move.
CUSDT: Bullish Breakout Holds – Can Buyers Push Higher?CUSDT has broken out of its recent consolidation range and is now holding above former resistance, signaling growing bullish momentum. Buyers continue to defend the breakout area, keeping the short-term trend positive.
As long as 0.06550 holds as support, the bullish outlook remains valid. A sustained move higher could drive the price toward 0.06872, while a break below support would invalidate the setup.
Trade Setup
Entry: 0.06616
Target: 0.06872
Stop Loss: 0.06550
I'll wait for continued buying volume and a confirmed hold above the breakout level before expecting another leg higher.
ALCHUSDT: Weak Recovery Signals Another Move Lower?ALCHUSDT is trading below a key resistance zone after a strong rejection from recent highs. The current recovery lacks momentum, while sellers continue to defend the upper range.
As long as 0.02785 remains intact as resistance, the bearish structure favors a move toward 0.02612. A break above the stop-loss level would invalidate this setup.
Trade Setup
Entry: 0.02754
Target: 0.02612
Stop Loss: 0.02785
I'll wait for bearish confirmation and increasing selling volume before expecting continuation.
CVXUSDT: Higher Lows Point to Bullish ContinuationCVXUSDT continues to print higher lows, showing that buyers remain in control after the recent recovery. The price is holding above a key support zone, keeping the short-term bullish structure intact.
As long as 1.2230 holds, the path toward 1.2711 remains valid. A breakout above the recent swing high could accelerate bullish momentum.
Trade Setup
Entry: 1.2327
Target: 1.2711
Stop Loss: 1.2230
I'm watching for increasing buying volume and a confirmed breakout to validate the next move higher.
BNB: Bulls Still Have Work to DoFirst of Two BNB Charts
This first chart looks at the weekly timeframe, where the support zone just below $600 remains the main battleground. June’s breakdown was quickly reclaimed, but bulls have struggled to build any meaningful momentum since.
Support Under Pressure
BNB is once again testing the same weekly support area around $570-$590. Buyers are still defending the zone, but repeated tests increase the risk that support eventually gives way.
Trend Remains Bearish
The 21/8-week EMAs remain bearishly crossed, with price continuing to find resistance around the 21-week EMA. Until that structure improves, the broader trend continues to favour the bears.
Momentum Still Weak
RSI remains below 50, confirming that bullish momentum has yet to return. StochRSI is hovering just above oversold territory, suggesting the downside may be stretched but not yet exhausted.
Bulls Need to Reclaim $600
A convincing break back above $600 would be the first sign that sentiment is beginning to improve. Failure to reclaim that area keeps the risk of another move towards the recent $537 low firmly on the table.
In Summary
BNB remains pinned around a major weekly support zone, but the broader structure still favours the bears. The bearishly crossed 21/8-week EMAs, weak RSI and repeated tests of support all suggest bulls still have work to do. Reclaiming $600 would improve the outlook, while another rejection would keep the recent lows in focus.
ENSOUSDT: Relief Rally Meets Resistance – Bears Still Have the EENSOUSDT remains in a broader downtrend despite recent recovery attempts. Price is approaching a key resistance zone where sellers could regain control.
As long as 0.7513 holds, the bearish outlook remains valid. A rejection from the current level could send the price toward 0.7091, while a break above resistance would invalidate the setup.
Trade Setup
Entry: 0.7422
Target: 0.7091
Stop Loss: 0.7513
I'll wait for a clear rejection and increasing selling volume before expecting the next move lower.
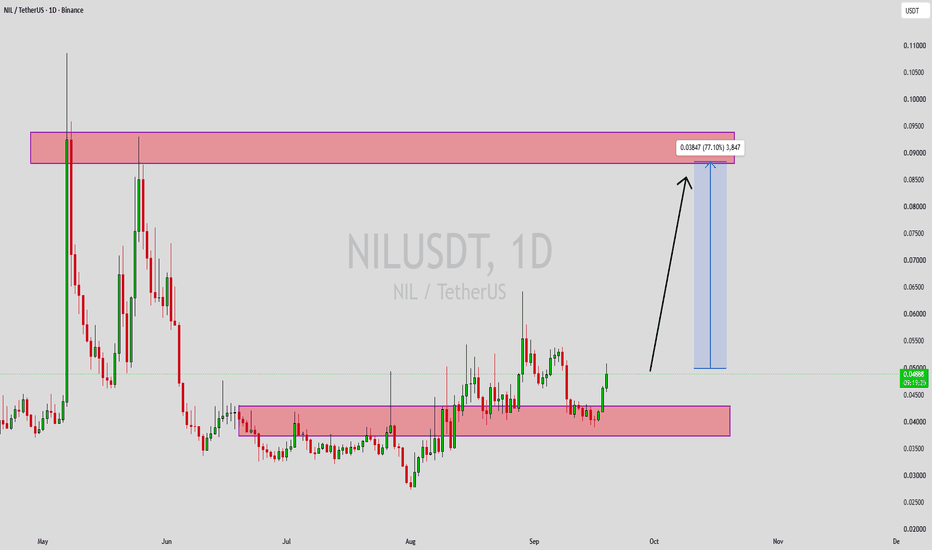
SEI USDT LONG SIGNAL#93 SEI /USDT – Trade Setup (LONG)
📈 Position Type: LONG
🕒 Timeframe: 1H
📊 Market: Futures
💰 Entry Zone:
0.04563
0.04490
🛑 Stop-Loss:
0.04425
🎯 Take-Profit Targets:
• TP1: 0.04679
• TP2: 0.04868
• TP3: 0.05083
• TP4: 0.05318
⚙️ Leverage:
5 *10
▫️ After TP1, move SL to Entry + 0.2%.
▪️ Exit Plan:
• 40% at TP1
• 20% at TP2
• 20% at TP3
20% at. TP4
📌 Risk Management:
Risk only 1–2% of your capital per trade.
⚠️ Always check and confirm the setup on your chart before entering the trade.
zecusdt shortInstructions:
Entry point: yellow
Stop loss: red
Take profit: green
👉Leverage x 5-10-20 for crypto
👉Leverage x 20-50-100 for commodities, stocks, indices, and forex
👉Margin 1-5% max.
Always practice risk and money management.
Invest a maximum of 5% on any trade or across all your trades.
Invest only what you can afford to lose, as no one is in control of the market.
👉Our analyses are primarily based on:
breakouts: two trend lines (ascending and descending) and a line indicating a horizontal breakout.
chart patterns: shoulders and head, triangle parttern, elliott impulse, etc etc.
We don't always have the time to track them at all times or to represent them visibly, given the numerous signals, the number of channels to manage, and especially because of the often rapid pace of market movements.
indicators: We associate at least two indicators with this technique.
👉Depending on the circumstances, we use specific indicators, often setting 3 or more take profit levels.
👉Indeed, there are good days in trading and also bad days. No one can promise to win every trade, and like all traders worldwide, we also experience stop-loss orders. However, we win more than we lose and remain positive.
👉You can close the position before or after the take profit orders indicated by the green lines if you are personally satisfied; the same applies to stop loss orders.
👉We must stay positive, clear-headed, and humble.
we cannot provide all instructions or all trades here on this channel.
Good luck to us all, and may God guide us. Amen.
BTC/USD: Break Above $65,625 Could Target $75,000Bitcoin is consolidating near $64,500 as traders assess softer US inflation data and continued regulatory uncertainty.
A confirmed breakout above $65,625 could open the way toward $69,460 and $75,000.
The bearish scenario requires a break below $62,500, which could trigger a decline toward $57,000 and $50,000.
Support: $62,500, $57,000, $50,000
Resistance: $65,625, $69,460, $75,000
PINNED UNDER THE ANCHOR, STANDING ON THE HEAVIEST SHELF PINNED UNDER THE ANCHOR, STANDING ON THE HEAVIEST SHELF IN THE RANGE
Solana is doing something worth watching. It is trading at 76.13, roughly 1.7% below its anchored VWAP at about 77.50, and that anchor has just turned upward for the first time since the June breakdown.
Quick translation. Anchored VWAP is the volume-weighted average price since the anchor point, so it approximates the average cost basis of everyone who has traded this move. When price sits below it, the average holder from that anchor is underwater. When it slopes up, that average cost is rising, which usually means buyers are being forced to pay more.
Right now those two things disagree. Price is under the line, but the line is rising into price. That gap closes whether or not buyers do anything, so a simple touch of 77.50 proves nothing by itself.
THE BATTLE LEVEL: 73.70
Look at the volume profile on the left. The fattest bar in the entire visible range sits at roughly 73.70, marked by the red line running across the chart. That is the price where the most contracts changed hands, so it is the market's agreed fair value for this range.
Above it, from about 74.30 to 75.40, is a second thick shelf. Price has been accepting above both since late June. That is the whole bull case: acceptance above the heaviest volume in the range.
THE PATHS
Upside: reclaim 77.50 and hold it on a 4h close. Above that, the profile thins out quickly. 80.00 is the first pause, then 82.30 at the top of the range.
Downside: lose the 74.30 to 75.40 shelf and 73.70 gets tested. That is where I would expect a genuine fight, because it is where the volume is.
THE CAVEAT
The bounce off the mid-July low came on unremarkable volume. Thin bounces into a declining structure fail more often than they resolve. The bias tag on my model still reads bearish while the anchor slope reads up, and I am not going to pretend that conflict is resolved.
Lose 73.70 on a 4h close and the setup is dead. Everything built since late June unwinds and the profile is thin underneath, down toward 68.
Bottom line: this is a coin trying to reclaim its own cost basis while standing on the heaviest shelf in its range. If 77.50 goes and holds, the thin air above matters. If 73.70 goes, none of the rest of this does.
Institutional Volume Map on the chart: volume profile, buy and sell split, anchored VWAP.
Bitcoin — Breakout loading?
🚀Bitcoin continues to trade inside a broad consolidation range while holding above the 63,000–63,200 support zone. Buyers are still defending the structure, but price remains below the major resistance area. As long as BTC stays within this range, patience is key until a confirmed breakout provides the next directional move.
📈 Bullish scenario
A confirmed breakout above the 65,500–65,600 resistance could trigger fresh buying momentum, opening the path toward the 67,000–68,500 Golden Zone, where the next major liquidity area is located.
📉 Bearish scenario
If the 63,000 support breaks, sellers may take control and push Bitcoin toward the next demand zone around 57,700–58,000.
For now, Bitcoin remains in consolidation. Waiting for a confirmed breakout from the current range offers the highest-probability setup rather than anticipating the next move.
BTC - OUTLOOKCRYPTOCAP:BTC ・ H2 Structural Analysis
Price was initially rejected from the highlighted supply zone, then swept the internal liquidity high. The liquidity grab into resistance strengthens the bearish outlook, suggesting buyers were trapped before sellers regained control.
What I'm Watching 👀
> Continued rejection beneath the supply zone
> Bearish displacement from the liquidity sweep
> Lower highs forming on lower timeframes
> Momentum remaining in favor of sellers
Current Bias: "Bearish"
As long as price remains below the highlighted supply zone, the structure continues to favor sellers.
ONDO/USDT - Reality Check After the News PumpKatsu on the Command Bridge. ONDO is on the radar.
On the ONDO 4H chart, we are seeing a very interesting and, so far, almost textbook situation. Price moved strongly after a news catalyst, broke out of the previous structure with momentum, and reached the upper resistance zones. The problem is that news alone is often enough to start a move, but not always enough to sustain it.
And that is exactly what we are seeing now.
After the pump, price corrected back to the 61.8% Fibonacci zone , which is often a major decision area. This is where we find out whether there was real buying strength behind the move, or whether it was just a fast news-driven spike that the market is now giving back.
Right now, we are around the 0.343 area, which is an important reaction zone.
Not a bad place, but also not a place where I would blindly try to be a hero.
What Do I See on the Chart?
The zones are clearly marked on the chart:
Blue levels = important support / resistance levels
Red zones = bearish Order Blocks
Green zones = bullish Order Blocks
After the news-driven move, price is now retesting an important area. This can still be a healthy correction, but only if buyers actually show up.
The black path is, in my opinion, a very realistic scenario:
price is now trying to stabilize around the 61.8% Fibonacci area,
if enough long entries come in, buyers may push price back toward 0.3513, then 0.3649–0.3733,
but if the buy side remains weak, then after a small upside attempt, price may simply drift back toward the area where the whole news pump started.
Right now, it is not enough to say bullish or bearish.
The real question is, will there be enough buyers to defend this move, or was that all?
Important Zones
Resistance
0.3513 - nearby resistance
0.3649 - bearish Order Block, important decision zone
0.3733 - stronger resistance; price could be pushed back here if enough buyers appear
0.4017 - upper major bearish Order Block / stronger supply zone
Support
0.3434 - current reaction zone, around the 61.8% Fibonacci area
0.3319 - nearby bullish Order Block
0.3210 - deeper bullish Order Block
0.3133 - last more serious bullish OB
0.3048 - deeper blue support, closer to where the news move started
The current price is exactly in the kind of area where a good setup can form, but it can just as easily become a trap.
The zone itself is not an entry, the zone is only a radar signal. After the news pump, we got a strong impulse to the upside. At first, that looks bullish. But the continuation was not convincing. Not convincing at all.
Price could not hold the upper area and quickly came back to the correction levels.
This means the market is now testing:
whether there was real buying strength behind the move,
or whether we only saw a quick news reaction.
Spoiler: in my opinion, that may have been it.
If the 0.343–0.3319 area can hold price, then there is still a chance for another upside attempt. But if this zone fails, I think price could easily return toward 0.3210, then 0.3133–0.3048.
LONG Plan - Bullish OB Defense
On the long side, the most interesting area right now is the 0.3434–0.3319 zone.
This area matters because several things meet here:
the 61.8% Fibonacci retracement,
the current reaction zone,
a nearby bullish Order Block,
and the first serious retest after the news-driven move.
Long Conditions
I would only look for a long if:
price moves into the 0.3434–0.3319 zone,
it does not collapse there,
it wicks below or sweeps local liquidity,
a strong rejection candle appears,
bullish ChoCh forms on the lower timeframe,
then price holds after the retest.
In simple terms: bullish OB -> sweep -> bullish reaction -> ChoCh -> retest -> long
These are only ideas. Not all of them have to happen perfectly, but they can give useful guidance.
Possible Long Plan
Entry: 0.343–0.334, after confirmation
Stop Loss: aggressively below 0.329, more safely below 0.321
TP1: 0.3513
TP2: 0.3649
TP3: 0.3733
If price also reclaims the 0.3733 area with strength, then the next larger target zone could be the upper bearish OB around 0.4017. But that would require much stronger buying power. Not this shooting a slingshot at an ostrich kind of strength. A small bounce is not enough.
SHORT Plan — Bearish OB Rejection
On the short side, there are two interesting possibilities. The first one is the closer, more aggressive version, the second one is the cleaner and safer version.
Short Setup 1 - After a Weak Bounce
This comes into play if price now corrects slightly upward from here, but already starts weakening inside the 0.3513–0.3649 zone. That would suggest buyers are unable to push price back into the upper area, and the momentum from the news pump has faded.
Short Conditions
What I want to see:
price bounces into the 0.3513–0.3649 area,
momentum slows down there,
a rejection wick appears,
bearish ChoCh forms on the lower timeframe,
price falls back below 0.3434,
and then fails to reclaim it on the retest.
In simple terms: weak bounce -> bearish OB -> rejection -> bearish ChoCh -> short
Possible Short Plan
Entry: 0.351–0.365, after confirmation
Stop Loss: above 0.374
TP1: 0.3434
TP2: 0.3319
TP3: 0.3210
Deeper target: 0.3133–0.3048
This short setup looks good only if the bounce is clearly weak and we get a clean rejection from the bearish OB.
Short Setup 2 — From the 0.3733 Resistance
This would be the cleaner short, but price would first need to be pushed higher. If ONDO reaches the resistance around 0.3733, but cannot hold above it, this could become a very nice bearish reaction zone.
Short Conditions
price reaches the 0.3733 area,
it wicks above or sweeps liquidity,
it cannot give a 4H close above it,
bearish SFP / ChoCh appears on the lower timeframe (I know, I know, SFP is usually not something we mainly watch on very low timeframes, but today we do :))) )
price remains weak on the retest.
Possible Short Plan
Entry: 0.369–0.374, after rejection
Stop Loss: above 0.382
TP1: 0.3513
TP2: 0.3434
TP3: 0.3319
Deeper target: 0.3210–0.3048
This would be the nicer short, because the market would first collect the late longs, and then, if there is no real strength, it could nicely close the door on them.
What Am I Watching Closely Now?
In the current situation, the main thing to watch is whether the 0.343–0.3319 zone can hold price. If yes, the first part of the black path may work, and we could see another upside attempt toward 0.3513, then 0.3649–0.3733.
If not, the news pump can easily fade, and price may return to the deeper green OB zones.
Not financial advice.The raccoon was simply thinking out loud about ONDO today.
Trading Framework: Chart PatternsChart Patterns — Reading the Market's Handwriting
Price doesn't move in straight lines. It coils, breaks, retraces, and repeats — and the shapes it leaves behind are not random noise. They are the visible footprint of supply and demand fighting it out in real time. This article breaks down chart patterns the way a desk would actually use them: as a structured framework, not a grab-bag of shapes to memorize.
We'll cover the major pattern families, the most widely traded individual patterns, and — more importantly — how to wrap all of it into a repeatable process instead of pattern-spotting for its own sake. Recognizing a shape on a chart is the easy 10%. Knowing what it means in context, what invalidates it, and how to size risk around it is the other 90%, and that's where most traders leave money on the table.
1. Why Chart Patterns Still Work in 2026
Every chart pattern is really a story about positioning. A triangle is a story about compression — buyers and sellers narrowing their disagreement until someone is forced to act. A head and shoulders is a story about distribution — demand making one last, weaker push before supply takes control. Harmonic patterns are a story about exhaustion at mathematically defined extremes.
Patterns persist not because of magic, but because human (and increasingly, programmatic) behavior around liquidity, stop placement, and breakout chasing is structurally repetitive. Institutions still build and unwind positions around the same structural pivots — they just do it with more size and more patience. Understanding the pattern is really understanding the behavior underneath it.
2. The Anatomy of a Pattern — What You Should Actually Be Looking At
Before listing types, it's worth establishing the checklist every pattern should be run through. Treat this as your due-diligence template:
Context: What is the higher-timeframe trend or range doing? A pattern in isolation means far less than the same pattern aligned with higher-timeframe structure.
Formation quality: Are the touches/swings clean, or is the pattern "forced" — drawn with one eye closed to make the shape fit?
Volume behavior: Contraction during formation, expansion on the break. This is the single most underused confirmation tool in retail trading.
Time symmetry: Does the pattern take a reasonable amount of time to form relative to the move that preceded it?
Breakout confirmation: Close beyond the structure, not just a wick poke.
Invalidation level: The exact price that proves the read wrong — defined before entry, not after.
Measured target: A projected objective derived from the pattern's own geometry, used to frame risk:reward before you're in the trade.
If you can't fill in all seven of these, you don't have a tradable pattern — you have a shape.
3. The Major Families of Chart Patterns
Chart patterns aren't one monolithic category. They split into distinct families, each with its own logic, its own tools, and its own failure modes.
a) Classical Continuation Patterns
These form mid-trend and resolve in the direction of the prevailing move. They represent a pause, not a reversal of intent.
Flags
Pennants
Rectangles (trading ranges)
Ascending / Descending Triangles
Bull / Bear Wedges acting as continuation (less common, context-dependent)
b) Classical Reversal Patterns
These mark a change in control between buyers and sellers, typically after an extended move.
Head and Shoulders / Inverse Head and Shoulders
Double Top / Double Bottom
Triple Top / Triple Bottom
Rounding Top / Rounding Bottom (Saucers)
Cup and Handle
Diamond Top / Diamond Bottom
c) Harmonic Patterns
Built on Fibonacci ratio relationships between swing legs (XA, AB, BC, CD), harmonics aim to define precise reversal zones rather than general areas. This is geometry layered on top of classical price action.
Gartley
Bat
Butterfly
Crab (and Deep Crab)
Shark
Cypher
ABCD Pattern
Three Drives
Harmonic patterns are unforgiving about precision — a Gartley with sloppy ratios isn't a "loose Gartley," it's noise. The discipline of the framework is the entire value proposition here.
d) Candlestick Patterns
Shorter-term, fewer-bar formations that describe the immediate tug-of-war at a level rather than a multi-week structure.
Engulfing (bullish/bearish)
Doji and Spinning Top
Hammer / Shooting Star
Morning Star / Evening Star
Dark Cloud Cover / Piercing Line
These work best as confirmation triggers at the edge of a larger pattern or level — not as standalone signals.
e) Wyckoff Structural Patterns
Wyckoff method patterns describe the full lifecycle of a campaign — accumulation, markup, distribution, markdown — and the specific events within each phase.
Accumulation Schematic (Spring, Test, Sign of Strength)
Distribution Schematic (Upthrust, Sign of Weakness)
Re-accumulation / Re-distribution ranges
f) Smart Money Concepts (SMC) / ICT-Style Patterns
A modern evolution of order-flow reading that reframes classical structure through liquidity and institutional footprint logic. These have become especially dominant in the retail-to-prop pipeline over the last few years.
Order Blocks / Breaker Blocks
Fair Value Gaps (FVG) / Imbalances
Liquidity Sweeps and Stop Runs
Change of Character (CHoCH) and Break of Structure (BOS)
Optimal Trade Entry (OTE) zones
Mitigation Blocks
SMC patterns share DNA with both classical and harmonic structure — many "order blocks" are simply the same institutional footprints that classical technicians described decades ago, relabeled around liquidity rather than geometry.
g) Elliott Wave Patterns
A more theory-heavy framework describing price as a fractal sequence of impulse and corrective waves.
Five-Wave Impulse Structures
Zigzag, Flat, and Triangle Corrections
Diagonal Triangles (Leading and Ending)
4. The Most Popular Chart Patterns Traders Actually Use
Out of everything above, a small handful of patterns account for the overwhelming majority of real-world trading activity because they're visually unambiguous, statistically well-documented, and easy to risk-manage.
Head and Shoulders (and Inverse): Arguably the most recognized reversal pattern in technical analysis. Three peaks (or troughs), with the middle one the most extreme, and a neckline that defines the breakout trigger.
Double Top / Double Bottom: Two failed attempts at the same level — a clean, easy-to-quantify rejection of a price extreme.
Ascending / Descending / Symmetrical Triangles: Compression patterns that telegraph an impending volatility expansion; direction is read from the prevailing trend and which boundary breaks first.
Bull Flag / Bear Flag: A short, controlled pullback against a sharp impulsive move — among the highest base-rate continuation setups when volume contracts properly during the flag.
Cup and Handle (and Inverted): A rounded base followed by a tight consolidation "handle" — a longtime favorite in equities for base-building before breakout.
Rising / Falling Wedge: Converging trendlines with a directional slope, typically resolving counter to the wedge's own slope.
Rectangle / Trading Range: Horizontal support and resistance bouncing — simple, but the foundation block of almost every other pattern.
Gartley and Bat (Harmonics): The two most commonly traded harmonic structures, prized for clearly defined Fibonacci-based reversal zones (the "Potential Reversal Zone").
5. Turning Pattern Recognition Into an Actual Framework
This is the part most educational content skips. A pattern is not a trade. A framework is what turns pattern recognition into something a desk could actually run risk on.
Step 1 — Top-Down Bias
Start on the higher timeframe and establish the dominant structure: trending, ranging, or transitioning. A bullish flag inside a broader downtrend is a very different bet than the same flag inside an established uptrend.
Step 2 — Pattern Identification With Strict Criteria
Don't force a shape onto the chart. If a "head and shoulders" requires you to ignore three candles to make it fit, it isn't one. Precision in definition is what separates a framework from confirmation bias.
Step 3 — Confluence
The best setups stack multiple independent signals: a classical pattern completing at a harmonic PRZ, lining up with a key Fibonacci retracement, or resolving at a Wyckoff spring inside a higher-timeframe demand zone. One signal is a guess. Three aligned signals is a thesis.
Step 4 — Confirmation Trigger
Define exactly what needs to happen for you to act — a closing breakout, a candlestick reversal signal, a volume spike, a break of structure. Vague "it looks like it's turning" entries are where discretionary trading quietly turns into gambling.
Step 5 — Risk Definition Before Entry
Invalidation level, position size, and target should all be calculated before you click buy or sell — not adjusted emotionally afterward.
Step 6 — Post-Trade Review
Track whether the pattern played out as the textbook geometry suggested. Over time, this builds your own personal statistical edge per pattern, per instrument, per timeframe — which is far more valuable than any generic "win rate" you'll find quoted online.
6. Where Pattern Trading Goes Wrong
Forcing the pattern: Seeing what you want to see rather than what's actually printed.
Ignoring volume: A breakout without participation is a trap waiting to happen.
Trading patterns against higher-timeframe trend with no added confluence.
No defined invalidation: Moving stops to "give it room" instead of accepting the pattern failed.
Pattern overload: Trying to apply every family above simultaneously instead of mastering two or three that fit your style and timeframe.
Closing Thought
Chart patterns are a language, not a lottery ticket. Classical shapes, harmonic geometry, Wyckoff phases, and Smart Money structure are all dialects describing the same underlying phenomenon: the ongoing negotiation between buyers and sellers for control of price. The edge isn't in knowing more pattern names — it's in building a disciplined, repeatable framework around the handful that consistently show up in the markets you actually trade, and respecting the invalidation level every single time it's hit.
Master the framework, not just the shapes.
20/07/26 Weekly OutlookLast weeks high: $65,597
Last weeks low: $61,829.18
Midpoint: $63,713.09
BTC price action from the previous week has placed the asset in a clear rangebound environment. It's also clear that the highs are getting lower and the lows are getting higher, leading to a coiling structure which tends to lead to an explosive move.
Looking at the macro, the June CPI on July 14 was the big relief. Headline inflation fell to 3.5% from May's 4.2%, undershooting the 3.8% forecast and marking the lowest annual reading since early 2020, with core flat on the month.
That collapsed July rate-hike odds to roughly 7% (from 34%) and cut 2026 hike odds to ~53%, with CME FedWatch now pricing ~85% for a hold. Brent above $85 with the Strait of Hormuz shut keeps inflation risk alive.
Bull case: Holding the $63,713 midpoint, a reclaim of $64,655 and the $65,597 weekly high opens the $67k resistance cluster into a dovish-hold Fed.
Bear case: The war backdrop continues with rising oil and a cautious FED drag price back toward the $61,829 weekly low with $58,000 major support the next retest.
Bitcoin: Lower High Risk GrowingSecond of Two Bitcoin Charts
This shorter-term chart reinforces what we highlighted on the daily timeframe. Bitcoin is once again struggling beneath resistance, with price action beginning to resemble a potential lower high.
Double Top Threat Increases
The rejection around $64,700-$65,100 strengthens the possibility of a developing double top. While the pattern isn't confirmed yet, another failure in this region would continue to favour the bears.
Resistance Remains Firm
The attempted reclaim of $64,700 was quickly rejected by strong selling pressure, showing sellers are still defending this level aggressively. Until bulls can close convincingly above it, rallies remain vulnerable to fading.
Momentum Begins to Fade
Volume decreased into the latest rally, suggesting buying conviction weakened as price approached resistance. RSI is slipping back towards 50 while the StochRSI has crossed down from overbought territory, increasing the risk of a short-term pullback.
Support Now Becomes Critical
The $63,640 support area is the first level bulls need to defend. Losing that region would increase the probability that this develops into a confirmed lower high and opens the door for another move towards the recent lows.
In Summary
The daily chart highlighted weakening momentum beneath the 0.786 Fibonacci resistance, and this shorter-term view adds further evidence that buyers are struggling to regain control. The rejection from $64,700 keeps the risk of a lower high and potential double top alive, although the pattern still requires confirmation. Bulls need a convincing reclaim of resistance soon, otherwise the path of least resistance begins to tilt back to the downside.
BTCUSDT:Sellers Still in Control — Liquidity Above,Targets BelowPrice is trading inside a larger descending range, and the recent bullish move looks more like a corrective pullback than a confirmed reversal. The key area I am watching is around 64,100–64,200. If price pulls back into that zone, it could collect more buy-side liquidity before sellers step back in.
My main idea is simple:
The broader bias remains bearish unless price breaks and holds above the upper structure. From here, there are two scenarios I am watching.
Scenario 1: Price pulls back toward 64,100–64,200, rejects that area, and then continues lower.
Scenario 2: Price does not give a deep pullback and simply continues pushing lower from the current structure.
For me, the bearish idea stays valid as long as price fails to reclaim and hold above the current resistance zone. If sellers defend this area, I expect price to continue toward the lower liquidity areas around 57,300–57,000.
If price breaks above the resistance and holds, then the short idea is delayed, and I would reassess the structure.
This is not financial advice. This is just my personal chart read based on market structure, liquidity, and continuation behavior.
Price bounced off $62,200 support, now consolidating at $63,400BINANCE:BTCUSDT 1H — Range structure intact. Price bounced off $62,200 support, now consolidating at $63,400 with eyes on $65,800 resistance.
BTC sold off sharply into the $62,200 demand zone on July 14, met heavy buying volume, and ripped back toward $65,100. That level rejected, and price has now pulled back to $63,400 — still holding higher-low structure above the range floor.
📍 Key Levels:
Support: $62,200
Resistance: $65,800
📌 Entry: $63,400 (current consolidation zone)
🛑 Stop Loss: $61,800 (below support + buffer)
🎯 TP1: $65,100 (previous swing high)
🎯 TP2: $65,800 (range ceiling)
📐 R:R: 1:1.5 (to TP2)
🔍 Why this setup:
The $62,200 support held on a volume spike — the heaviest bars on this chart printed during that sell-off and bounce, confirming real buyer interest at the level. Price has reclaimed mid-range and is building a base. The range is clean: defined floor, defined ceiling, and price is closer to the floor than the ceiling. That asymmetry favors longs.
I'm watching $64,300 as the short-term inflection — a reclaim there likely accelerates the move toward $65,800. A break below $62,200 invalidates the entire setup.
$BTC: 0.786 Fib Continues to Reject PriceFirst of Two Bitcoin Charts
This is the first of two Bitcoin charts this morning, starting with the daily timeframe before moving to the shorter-term picture later. Price is once again struggling beneath a major resistance cluster.
0.786 Fib Rejects Bulls Again
Bitcoin has failed once more to break above the 0.786 Fibonacci level around $65,260. Repeated rejection from this area suggests buyers are still lacking the strength needed to push the recovery higher.
50-Day EMA Adds Resistance
The 50-day EMA sits directly above price, creating further confluence around the same resistance zone. Until bulls reclaim both the moving average and the Fibonacci level, the broader recovery remains vulnerable.
Momentum Remains Weak
RSI continues to hover around 50, showing little conviction from either side. StochRSI is also flattening just below overbought territory, suggesting bullish momentum is beginning to fade.
Support Now Comes Into Focus
Price is currently testing the 0.618 Fibonacci level around $63,666. A clean break below this area would weaken the short-term higher-low structure and increase the risk of a deeper pullback.
In Summary
Bitcoin is once again failing to overcome the 0.786 Fibonacci resistance, with the 50-day EMA adding further pressure overhead. Momentum also appears to be fading, leaving the current recovery looking increasingly fragile. Bulls still have an opportunity to defend the 0.618 Fib and maintain the short-term structure, but another rejection from resistance keeps the risk tilted towards further weakness.